The Todo Smart Band 9 makes most sense when you think about the phone you already carry on a walk. Its connected GPS arrangement means the phone is part of the recording setup, rather than something you can leave behind while the band maps your route. For everyday walks, that can be a workable arrangement, provided you prepare both devices and understand what the resulting record can tell you.
This guide focuses on that walking workflow: getting ready at home, starting a session, dealing with missing route information and reviewing the walk afterwards. The aim is a useful record of an activity you enjoy, without turning every outing into a contest with your wrist.
Understand the phone’s role before choosing a route
The Todo Smart Band 9 is described as offering step counting, heart rate tracking, sleep monitoring, workout logging and notifications. For outdoor distance and pace recording, the key detail is that it uses connected GPS rather than built-in GPS. You therefore need the paired phone with you when using that feature.
That distinction changes the practical question from whether the band can record a walk to whether you are happy carrying and maintaining a phone connection throughout it. If you normally take your phone for calls, this may fit your routine. If your walks are deliberately screen-free and phone-free, a route map from this setup is unlikely to suit that preference.
Keep route recording separate from navigation
A saved line showing where you walked is different from reliable directions showing where to go next. Do not assume a fitness recording feature provides navigation, emergency assistance or a way home. Know your route, consider the conditions and carry whatever navigation and safety equipment the walk requires. A familiar local circuit is a straightforward place to learn how the recording process works.
Prepare the band and phone together
Begin with the instructions supplied with your exact device. Confirm the companion app through those instructions rather than downloading an app simply because its name looks plausible. Pair the band as directed and check that it communicates with your phone before leaving home.
Review the permissions the app requests. Location access may be necessary for route recording, while other permissions may relate to optional features such as notifications. Read the explanation for each request and enable only what you intend to use. Phone menus differ, so follow the app’s guidance for your operating system.
- Charge both devices: a charged band cannot compensate for a phone that runs out of power.
- Check the connection: confirm that the app recognises the band before starting the walk.
- Check location settings: make sure the required access is available for the activity.
- Choose secure storage: carry the phone somewhere comfortable where it will not fall out.
- Plan your return: think about weather, daylight and how you will get home.
If the app provides advice about background operation or battery settings, read it before changing anything. Avoid granting broad permissions without understanding their purpose. A short practice recording near home can reveal setup problems before they spoil the record of a longer outing.
Make starting the walk a repeatable routine
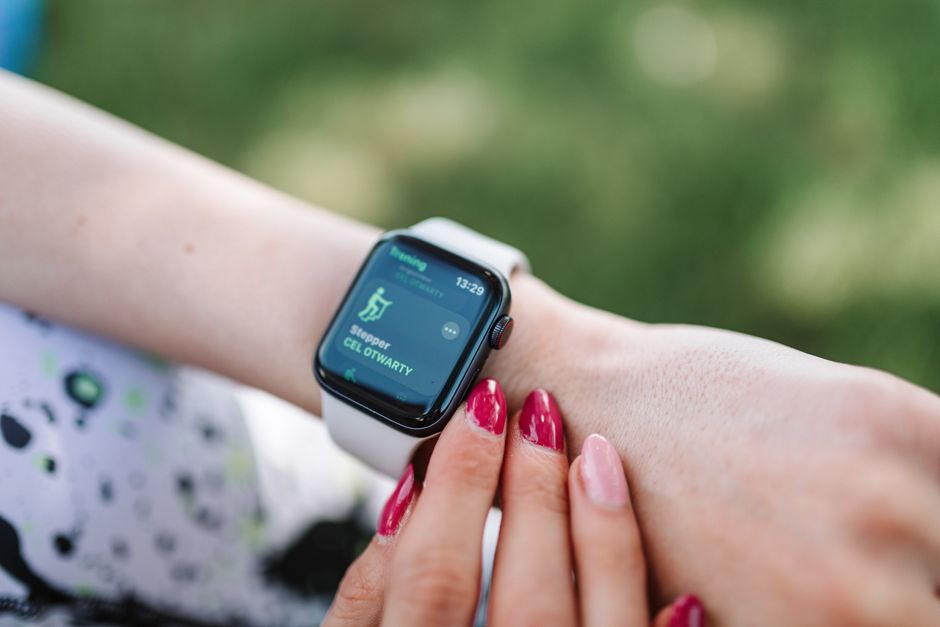
At your starting point, open the relevant activity controls and select the appropriate walking option if one is available. Follow the prompts for connecting to the phone and obtaining location information. Do not assume that an increasing step count means an outdoor route is also being recorded.
Check that the session has actually started before putting the phone away. Once you know the controls, use the same sequence each time. This reduces the chance of returning from a walk to discover that you opened an activity screen but never began recording.
Choose comfort over constant checking
Follow the manufacturer’s guidance on band placement and fit. It should stay in place comfortably without pinching or leaving your wrist feeling restricted. If it rubs or becomes uncomfortable, stop and adjust it rather than tightening it further to chase a cleaner reading.
Decide beforehand when you will look at the screen. Checking while standing safely at a junction or taking a break is easier than reading small figures while crossing a road. Keep your attention on traffic, other people and the walking surface. A notification or changing pace figure can wait.
Use pace and distance with the right expectations
A recorded walk can help you remember where you went and compare familiar outings. Treat its distance and pace figures as estimates. A brief pause, a missed start or incomplete location information can change the summary without changing the effort you actually made.
For a casual walk, you might choose a destination or a comfortable time outside as your main goal. The tracker can provide a record afterwards. There is no need to speed up merely because the display suggests that you are behind an earlier outing.
Likewise, avoid using a wrist reading as permission to push through discomfort. If you have a health condition, an injury, are pregnant or are unsure about starting a new exercise routine, discuss suitable activity with your GP or a qualified professional. The band’s figures cannot provide individual medical clearance.
Handle an incomplete route without chasing the numbers
If the distance stops updating or the connection appears to fail, pause somewhere safe before checking either device. Confirm that the activity is still running, the phone has power and the required connection and permissions remain available. Use the manufacturer’s troubleshooting instructions for further steps.
A gap in a route does not tell you exactly what caused it. Avoid assuming that mobile reception alone explains the problem, or that restarting everything will recover the missing section. Location recording and the connection between the band and phone involve different settings.
- Decide whether recording the rest of the walk matters enough to troubleshoot now.
- If it does, check the simple settings while stationary and safe.
- If the issue persists, continue only if the walk itself remains safe and comfortable.
- Review the record at home and mark it as incomplete wherever notes are available.
Do not add extra laps simply to replace distance the device failed to capture. The walking still happened. An imperfect digital record is a technical inconvenience, not a reason to disregard the activity.
Finish with a useful review and a privacy check
End and save the session using the device instructions, then check that it appears in the companion app. Look at the broad story first: whether the route resembles your walk, whether the duration makes sense and whether you enjoyed the outing. Investigate obvious gaps before comparing the summary with another day.
Be cautious about sharing route screenshots. They can reveal your home, workplace or regular walking times. Check what is visible before posting or sending a record, and review any sharing settings available in the app. You can enjoy keeping a walking history without making that history public.
Finally, put both devices back into a routine that makes the next outing easy: charge as needed, follow the band’s cleaning instructions and resolve recurring connection problems at home. The most useful Todo walking setup is one you can start calmly, carry comfortably and finish without letting the recording take over the walk.